The right way to install a KEBA wallbox
- Knowledge
- Charging
- Private
- 3.3.2023
- Reading Time: {{readingTime}} min
Contents
Note: KEBA does not assume any liability for damage resulting from nonprofessional installation. We recommend an installation by certified electricians only.
The planning stage is complete, all preparations have been made, the wallbox is here—all that is left to do is to install it. We will share everything you need to know about this process below.

Step 1: Power off!
Before you begin installing your wallbox, make sure that the power source is de-energised. Anything else can result in lethal injury.
Step 2: Prepare wall mounting—determine height, drill holes
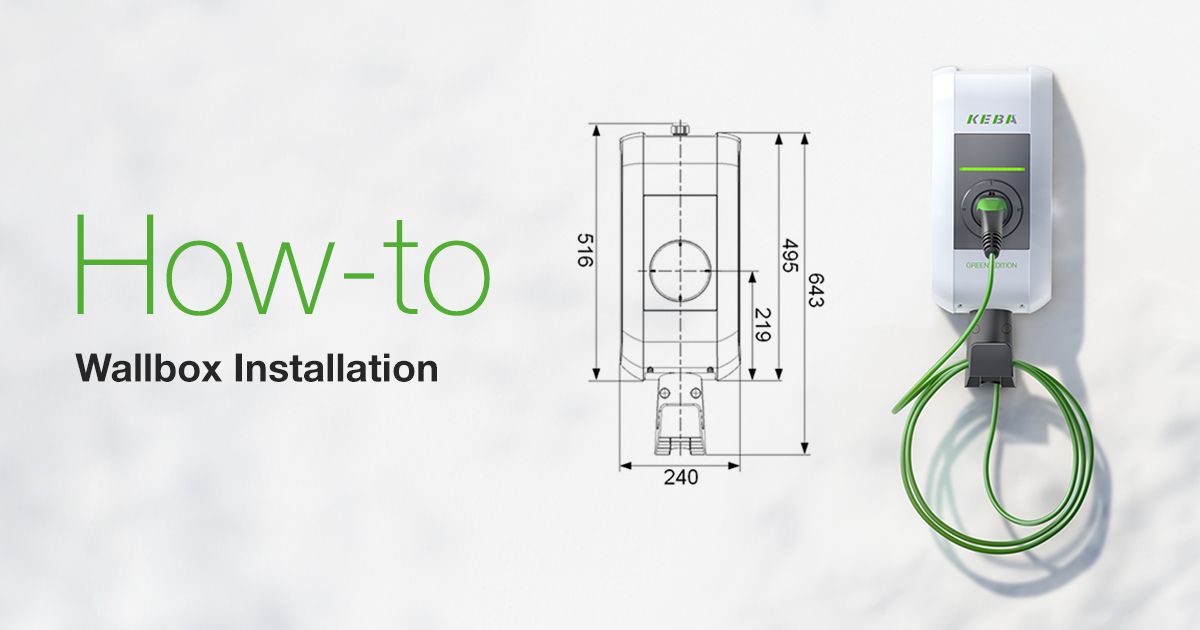
In most cases, a wallbox is mounted on a wall, for instance in the garage at home. For a stable mounting, you’ll need screws and wall plugs. These items are already included in the wallbox package—as is the drill template with which to mark the position of the required holes in the wall. You can use a spirit level against it to make sure the wallbox will later be level.
For optimal use of the wallbox by wheelchair users, we recommend holding the top edge of the template at a maximum height of 140 centimetres. Mounting it slightly higher will give you a bit more practical reach with the cable and therefore more flexibility when charging different electric vehicles.
Once the holes are drilled and the wall plugs are inserted, hanger bolts are used to secure the KEBA wallbox. This way, the wallbox casing can be safely and precisely mounted using the nuts provided.
Step 3: Getting the wallbox ready
As wallboxes are delivered in an assembled state for lack of space, you will now have to separate the body from the casing and loosen and unscrew the covers inside. In KEBA wallboxes, the power inlet is rendered as a predetermined breaking point. Why? Because our charging stations have two potential power inputs—one at the top, one in the back. To use the supply line in the back, you must break the back opening and insert the double membrane seal included in the package (see also in the video above). Make a small incision in the seal – so tight that it’s still hard to push the cable and its sheath through. This prevents moisture from entering the box.
If the power supply should come from above, a cable gland must be used, which safely seals the cable inlet. Here's the installation video for a cable entry from above.
Expert advice: the wallbox should have been stored for some time at its determined location before mounting it on the wall. This acclimatisation prevents condensation in its interior.
Step 4: Mounting the wallbox
Our wallbox comes with washers for the nuts as well as additional larger washers to level out irregularities on the wall. They also allow you to create some distance between the wall and the wallbox, which is paramount especially for outdoor installation, as it allows rainwater to run off unhindered behind the case of the wallbox.
Note: we also offer a pedestal to mount the device without a wall.
Step 5: Connecting the wallbox to the main power supply
Now comes the part that is imperative and must carried out by a certified electrician: the wiring, which is to say, connecting the charging station to the power supply.
The five cable ends for 11 or 22 kW charging capacity for a three-phase connection (or three cable ends for single-phase) are stripped to 12 mm and inserted in the designated spring-clamp terminals.
Equally important, however, is the preliminary work of the electrician in regards to the power supply. A charging station with 16A rated current requires a cable cross-section of at least 5 × 2.5 mm2, a 32A wallbox 5 × 6 mm2. Unlike a less well-protected household socket, a wallbox must be secured by a separate RCBO or GFCI breaker up stream. This means that no other consumers may be connected to this particular circuit! However, thanks to the integrated DC residual current monitor, a less expensive type-A RCD is sufficient for KEBA wallboxes.
By the way, KEBA produces its own add-on products and installation instructions for the use of self-produced PV power in conjunction with the KEBA wallbox.

Step 6: Power on!
After reattaching the clamp covers, you can turn the power back on and commence the actual configuration. To help you configure our wallboxes, we’ve prepared a video tutorial. For our wallboxes of the x-series there is also a separate manual. Now you can also use the SIM card required for remote use to access the wallbox without Wi-Fi and obtain data.
Step 7: Attach casing—your electric car is ready to be charged
Now you can put the casing back on, and the charging station is ready to use for your electric car and other electric vehicles.
Connective KEBA wallboxes of the c-series and x-series can also be given there own ID, accessed, and data retrieved via the KEBA eMobility app.


